| Click on any of the photos below for a larger version (requires a JavaScript enabled browser). |
 |
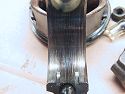
A view of the crank and connecting rod caps. |
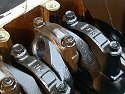 |
A close-up of the crank, main bearing caps, and connecting rod caps. |
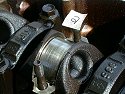 |
The crank journal on cylinder #2 was worn the most - the rest looked (and measured) ok for the mileage on the engine. |
 |
The connecting rod cap from #2 was the worst. Yes, this baby spun and was way out of wear tolerances. |
|
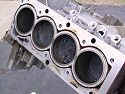
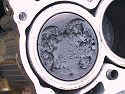
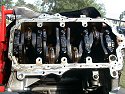
With the head removed, the tops of the pistons are now visible (and dirty as hell). Is this from normal fuel usage over the 92,000 miles, or from burning oil? |
|
Lots of cooked-on deposits on piston #4. The others looked similiar. |
|
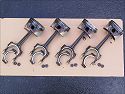
All four pistons & rods after removal. |
|
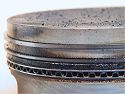
A close-up view of the rings on one of the pistons. To my surprise, the oil control rings did not appear to be siezed or very gunked-up. |
|
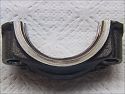
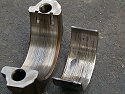
A look at the #2 piston rod, with the bearing removed. This was the one that spun. |
|
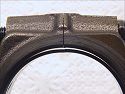
The connecting rod cap from #2, with the bearing in it. Notice the inward curve of the ends of the bearing. |
|
Another view of the rod and cap from #2 assembled, with the bearings in place. I don't think daylight should be visible thru there. |